Motor hub and bracket homeworks #
Create a secure motor attachment
Later this semester, Projects 2 and 4 will require using a motor to actuate some part of an interactive game, and Projects 5 and 6 will involve motor-driven wheels. So in these homework assignments (also known as “Project 0”), you’ll be building some knowledge about how to attach a part securely to a motor.
Motor hub #
Your first task (HW due Sep. 25) is to design and build a motor hub that meets the following requirements:
- It fits on and attaches to your DC motor shaft
- It stays attached securely enough to handle the amount of torque (load applied to hub) that stalls the motor when it is operating at 12 V
- It can be removed
- It includes a 3 mm hole located 15 mm from the central axis of your DC motor shaft (you’ll insert a paper clip with a weighted string into this hole)
- Around its circumference, it includes a channel or groove for winding up 1 meter of string
Your motor hub can be shaped however you like as long as it meets these requirements; the details are up to you.
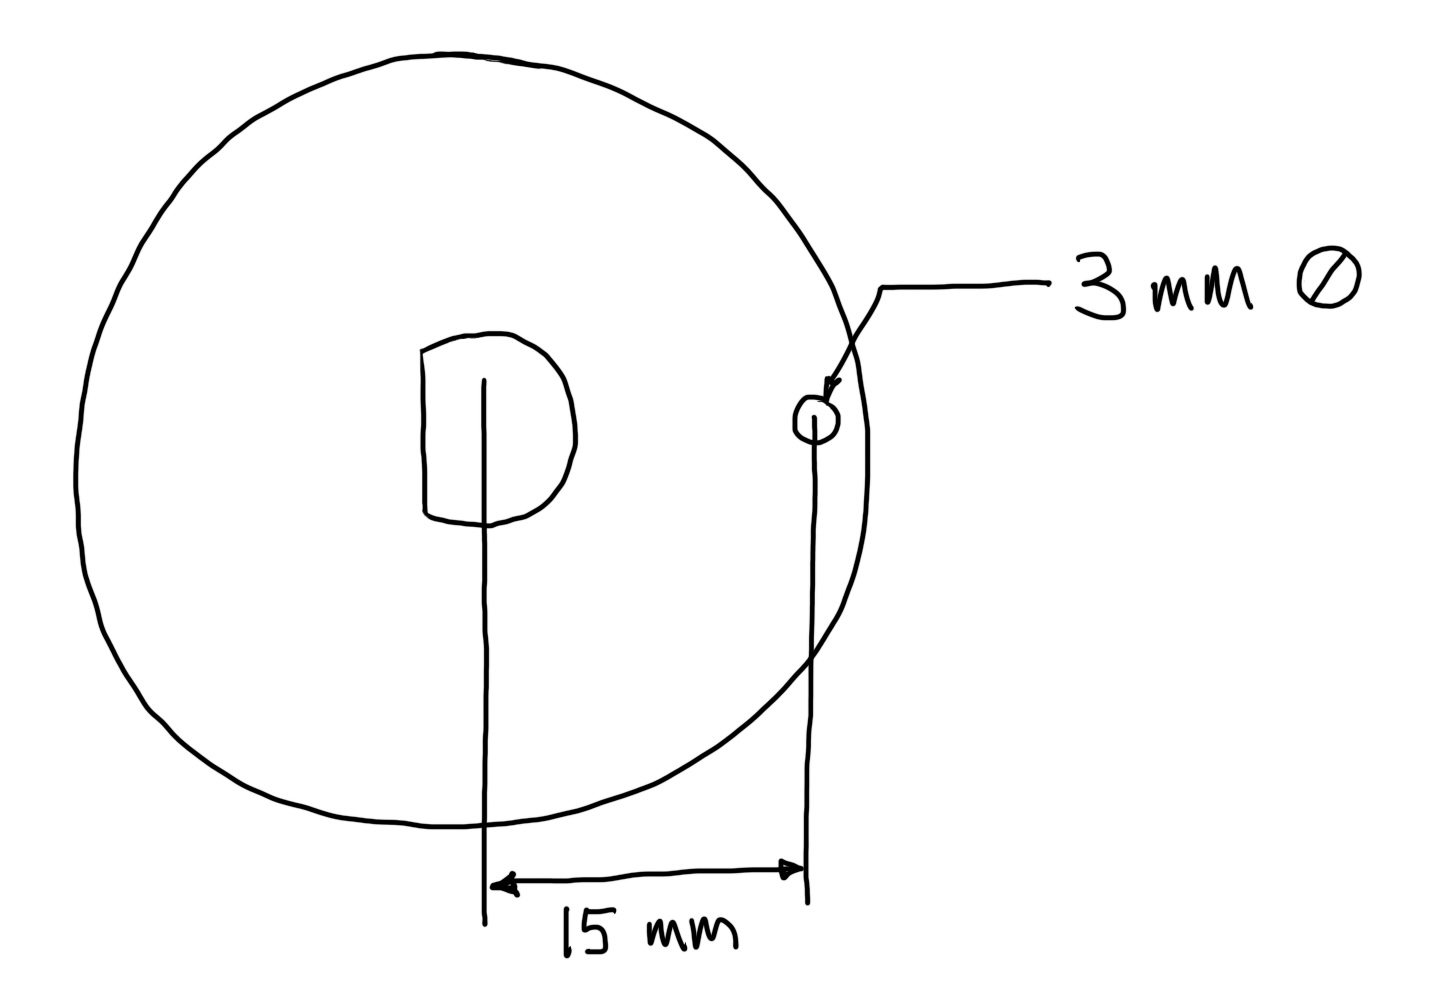
Procedure for motor hub testing:
Attach your motor hub to your motor. Hold your motor securely in one hand or in a clamp. Power the motor at 12 V. Test to see if you can make the motor stall (stop spinning) by grasping your motor hub with your other hand (or a tool). If the hub slips around the motor shaft and allows the motor shaft to keep spinning, your hub does not pass the stall test.
Submit to Canvas (1) a photo of your motor hub and (2) a brief video (max 30 seconds) demonstrating that your motor hub meets the requirements above, including the stall test.
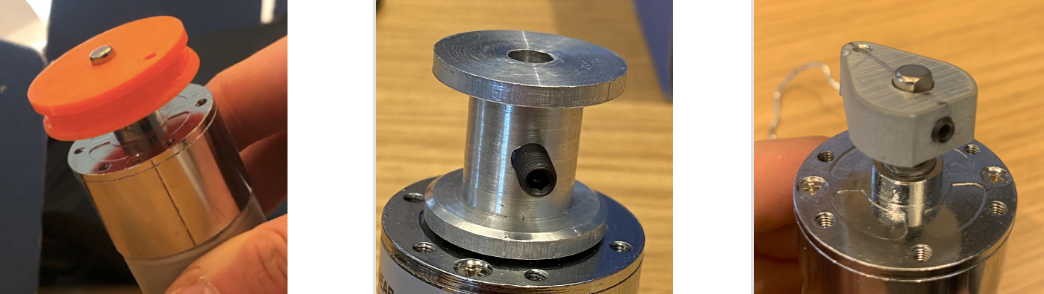
Prior Student Examples NOTE: Not all of these examples meet the requirement of a channel or groove for the string to travel - that was new in 2025!
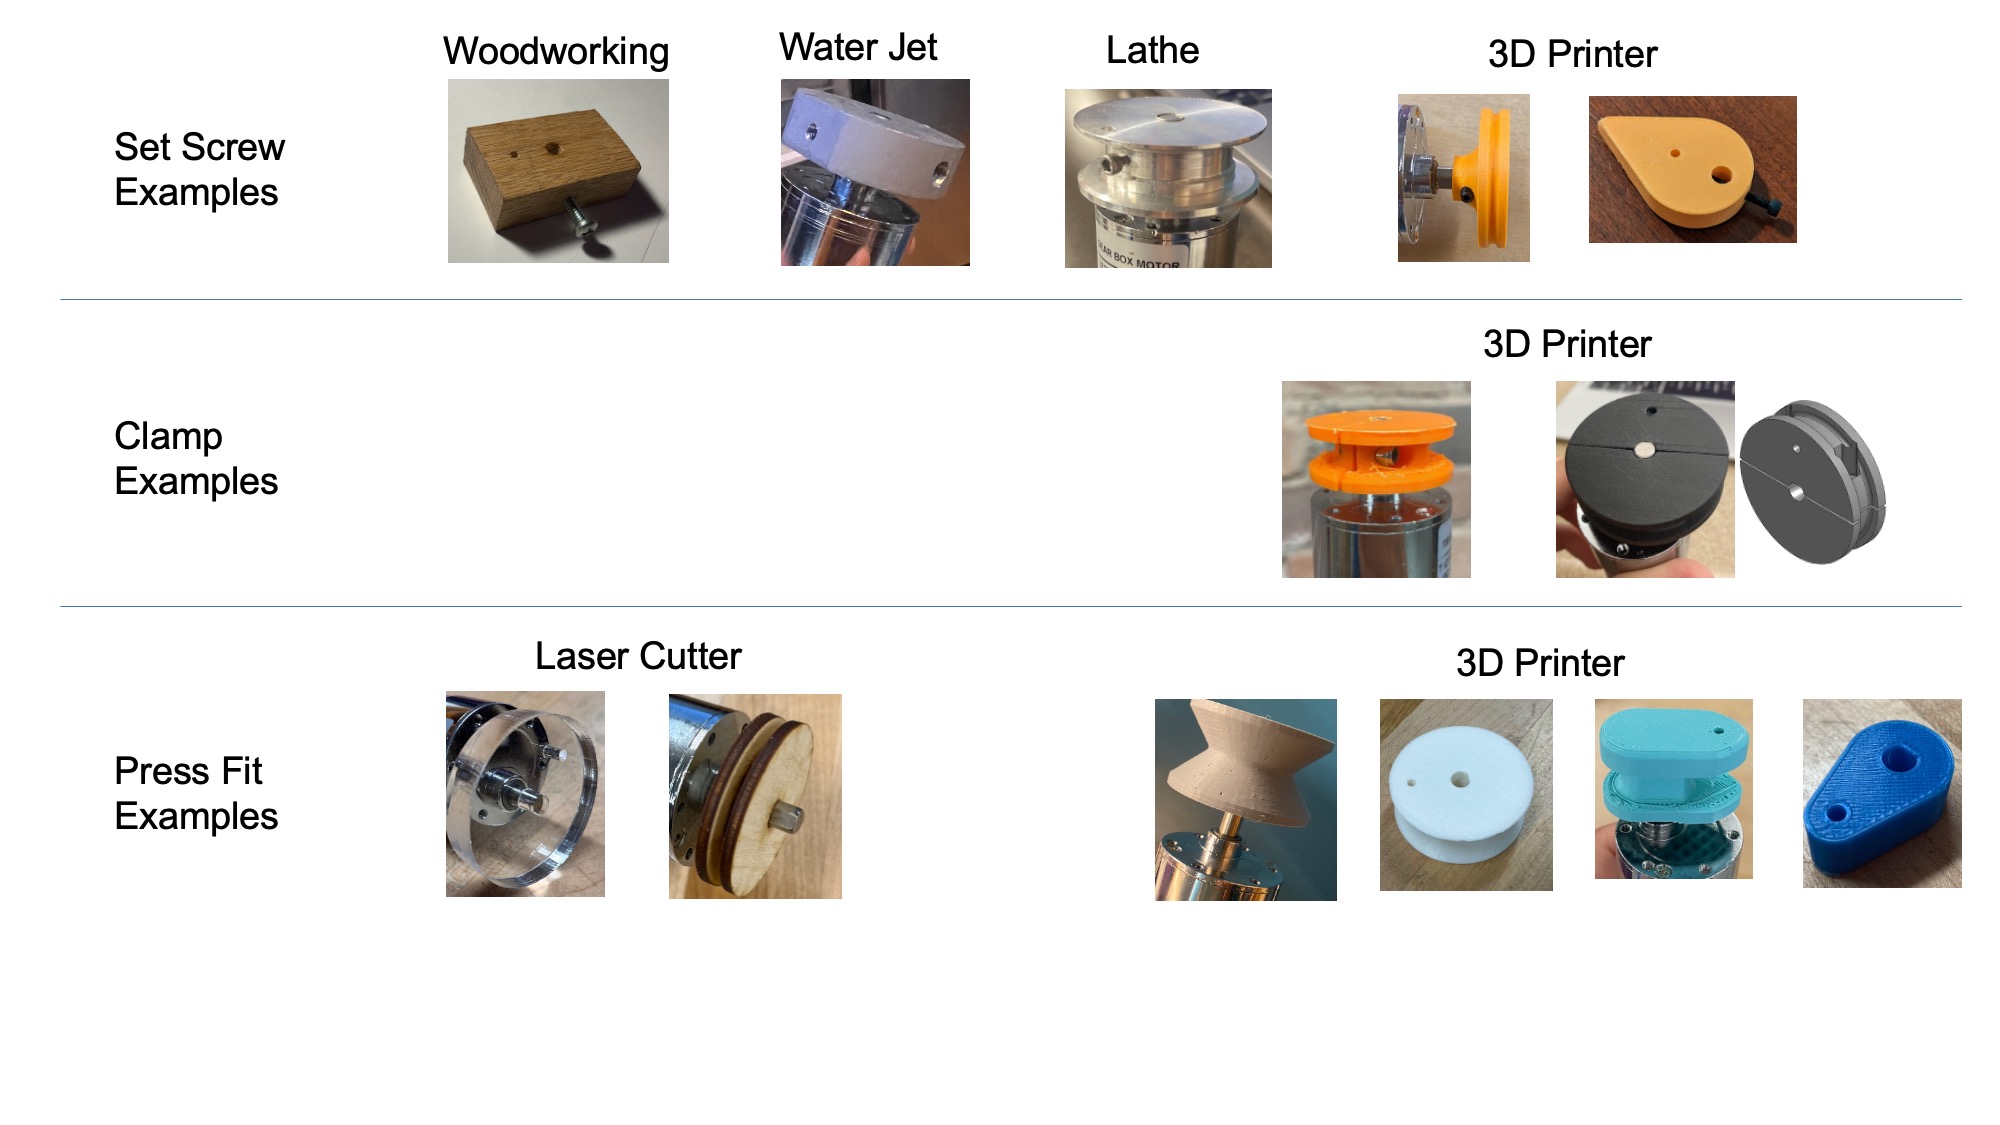
Motor bracket #
Your second task (HW due Oct. 9) is to create a bracket that holds the motor housing in place by meeting the following requirements
- It prevents the motor housing from rotating with respect to a flat surface (like a piece of scrap wood, standing in for a future game frame or robot chassis)
- It accommodates your motor hub (your hub can still be attached and removed from the motor shaft)
- It can be attached and removed from a flat surface (such as a piece of scrap wood) without removing the motor itself (so don’t put mounting bolts underneath the motor where you can’t get to them)